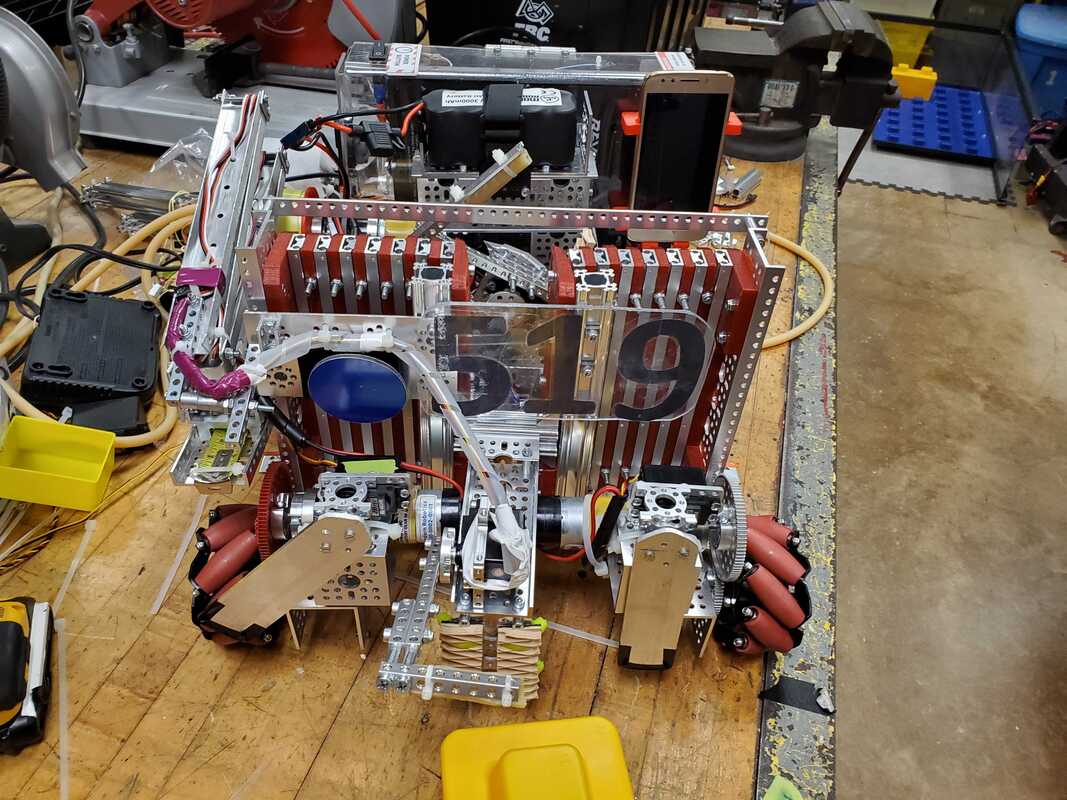
Following a disappointing first competition, going the entire day with our robot being broken in one way or another, we went back to the drawing board. After weighing our options, we determined that, with the amount of identified issues, it would be more of a hassle to revise the bot to be reliable, if it were to even work in the end, than to design a new robot. With our decision made, we committed our winter break to stripping it down to the frame and then make our way back up. Only a few components remain from the original robot but, even then, only the three channels making up our frame are how they were in version one.
Grabbing the Foundation
For our last iteration, we had a singular beefed up servo with a plate that rotated down. It worked, as long as we only wanted to go straight and slow. With the new design, we have two metal plates on the front that rotate downwards, dispersing the load and giving us better gripping capabilities.
Collecting Stones
For our stone collection system, we tried to simplify the general assembly. Our first time around we had multiple points of movement, and it took up a great deal of space, getting caught on the things around it. With this grabbing mechanism, we drive up to a stone and lower an arm, grabbing onto the stud. Now, it's not only more simple but reliable as well.
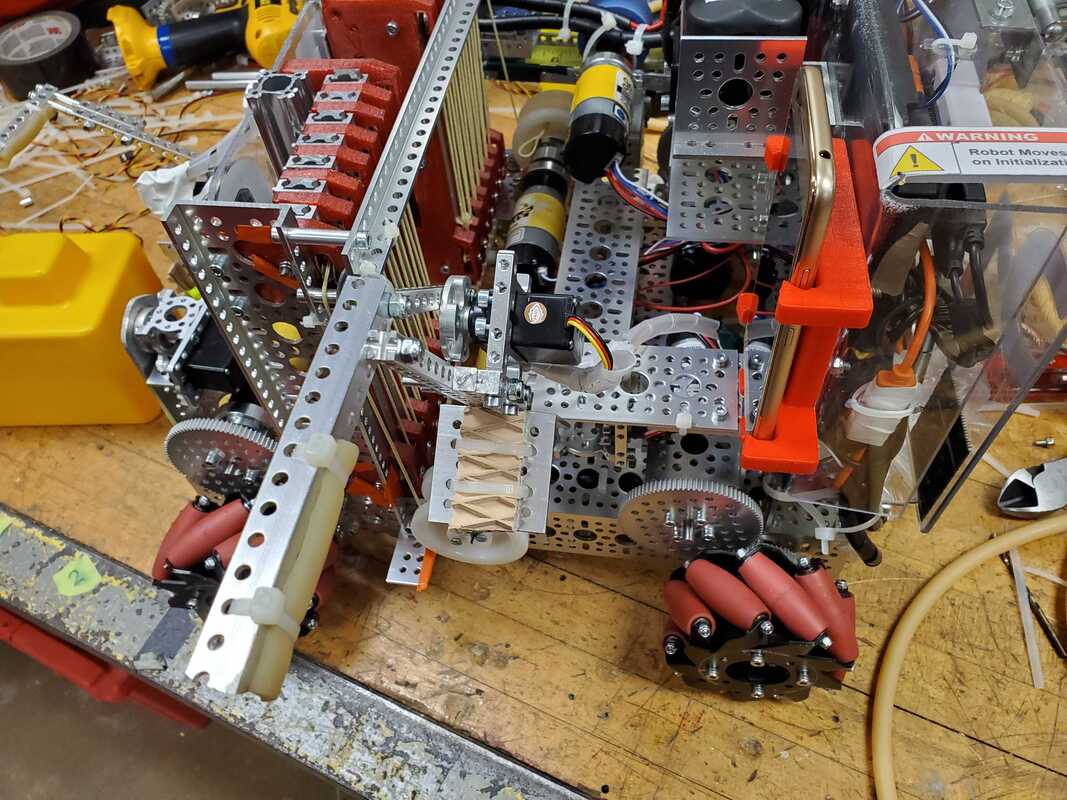
An additional system for collecting blocks is located on the side of the bot. The purpose for this assembly is to primarily grab stones in autonomous though, it can also be used as a redundant collection method for transport if our primary intake fails.
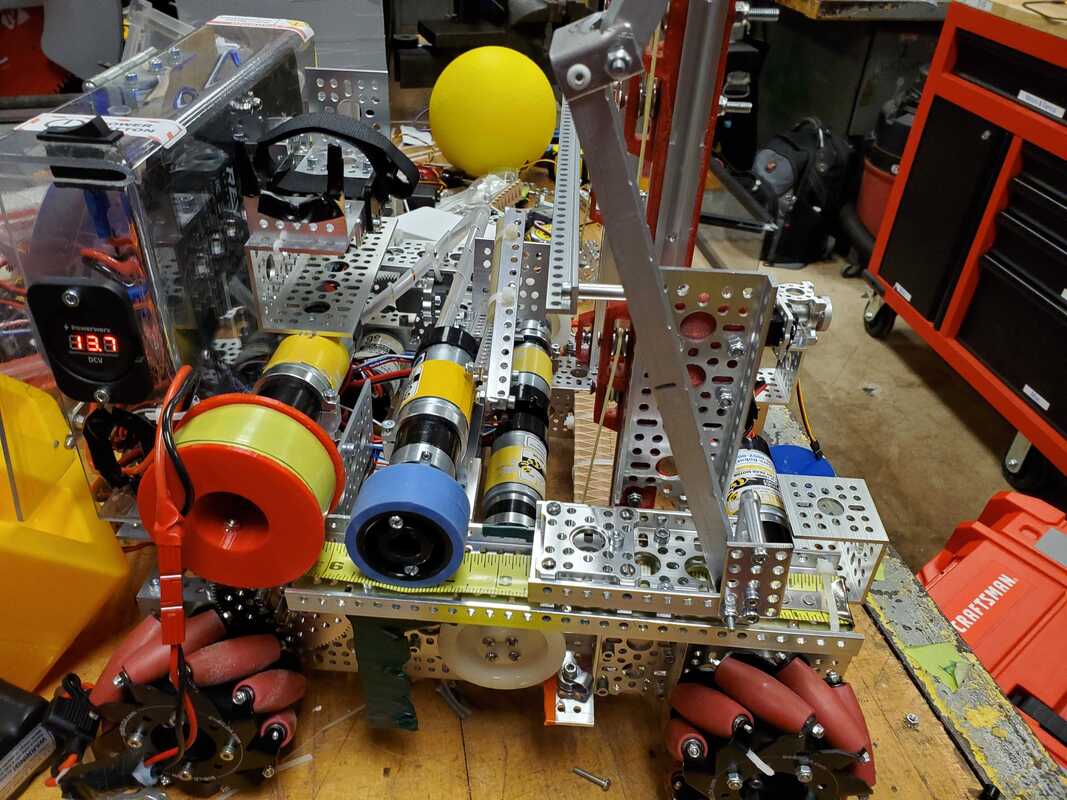
Lifting
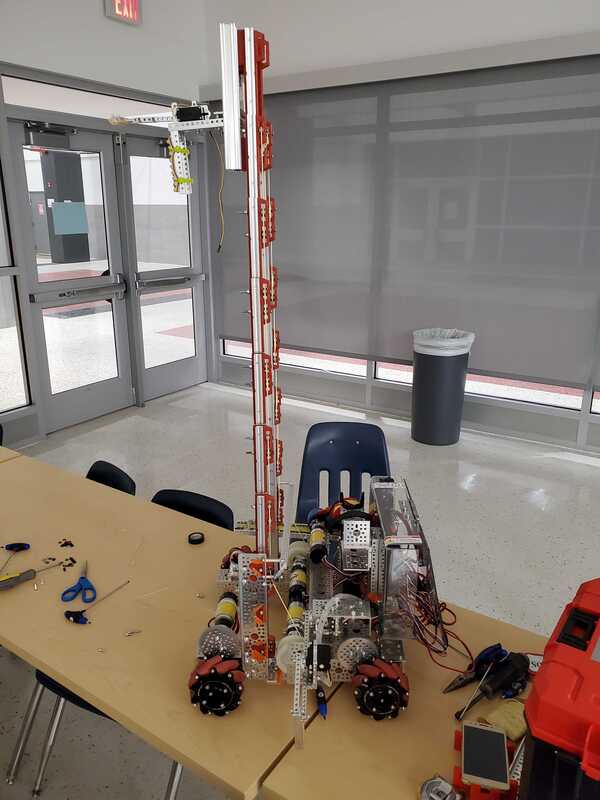
The prior lift that we designed was too heavy and ended up pulling itself apart for that reason. No amount of retention system did it justice so we went lighter. This lift is comprised of drawer slides and 3D printed spacer inserts. It is lighter, faster, more capable, and reliable. It has the ability to stack up to nine stones high, or eight with a capstone.
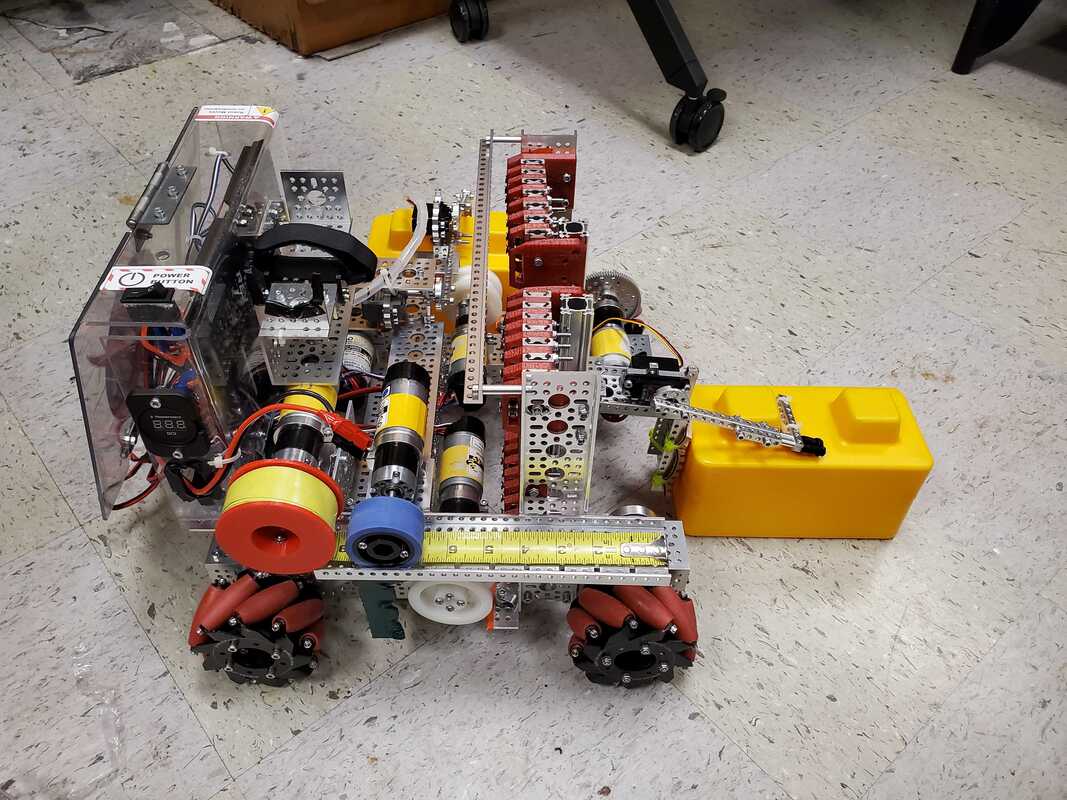
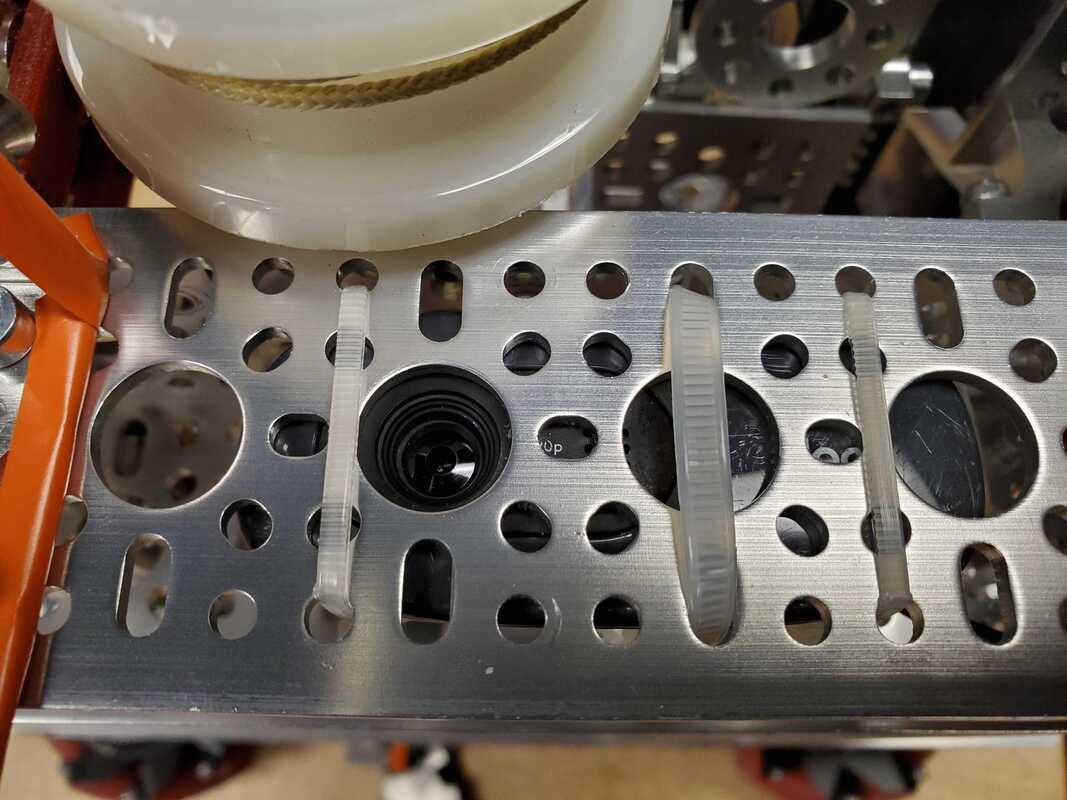
Tape Measure Extension
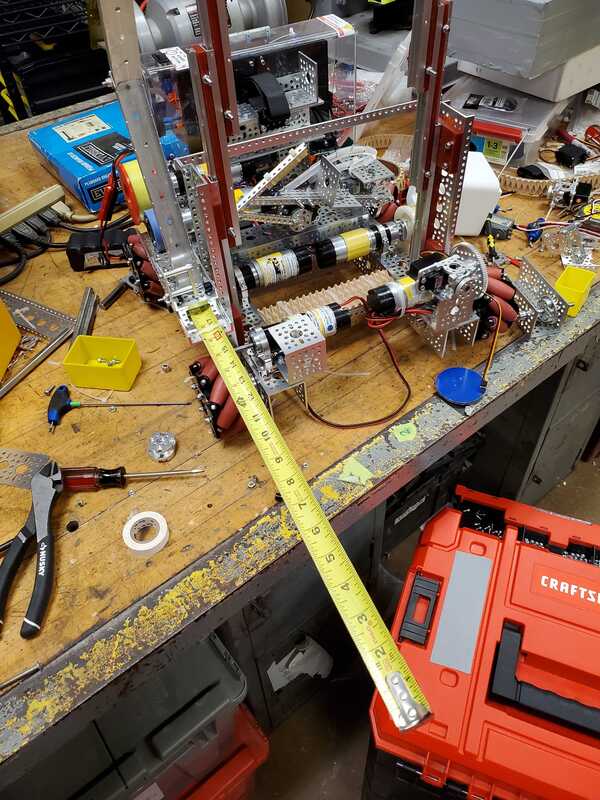
|
Why add a tape measure extension unit to the robot? Well, we designed this with the goal of having an extra reach for parking in auto., teleop, or both. Using a wheel to push the tape out, we have a huge reach, eliminating any concerns about being able to break the parking plane due to things like other robots being in the way. Retraction and storage are simple. Before/After use, the tape is wound up onto a 3D printed spool while the metal lip catches on the metal channel (shown in the right image).
|
Camera Vision
Hidden inside one of our drive base channels, there is a webcam. This Logitech camera is used solely for running image recognition during autonomous for detecting skystones.
Cable Management
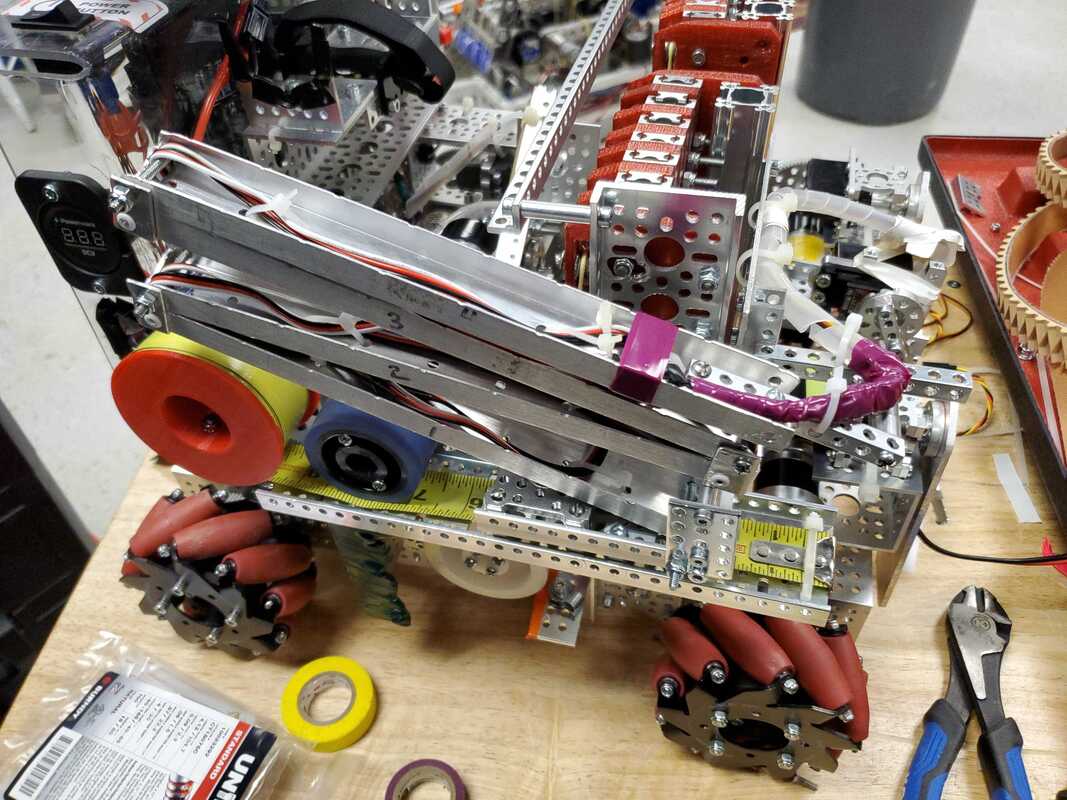
On one side of our robot, we have a separate lift system for dealing with the cabling for the wires that move up with the main lift. It's purpose is to route the servo wires from the electronics box to the top of the lift in a manner that won't impose a risk of damaging the cables. A lot of this assembly came from the original robot and has been adapted to work with our revamped designs. However, it also serves a double purpose. On top of the management aspect, it assists in guiding the tape measure system.
Electronics Box
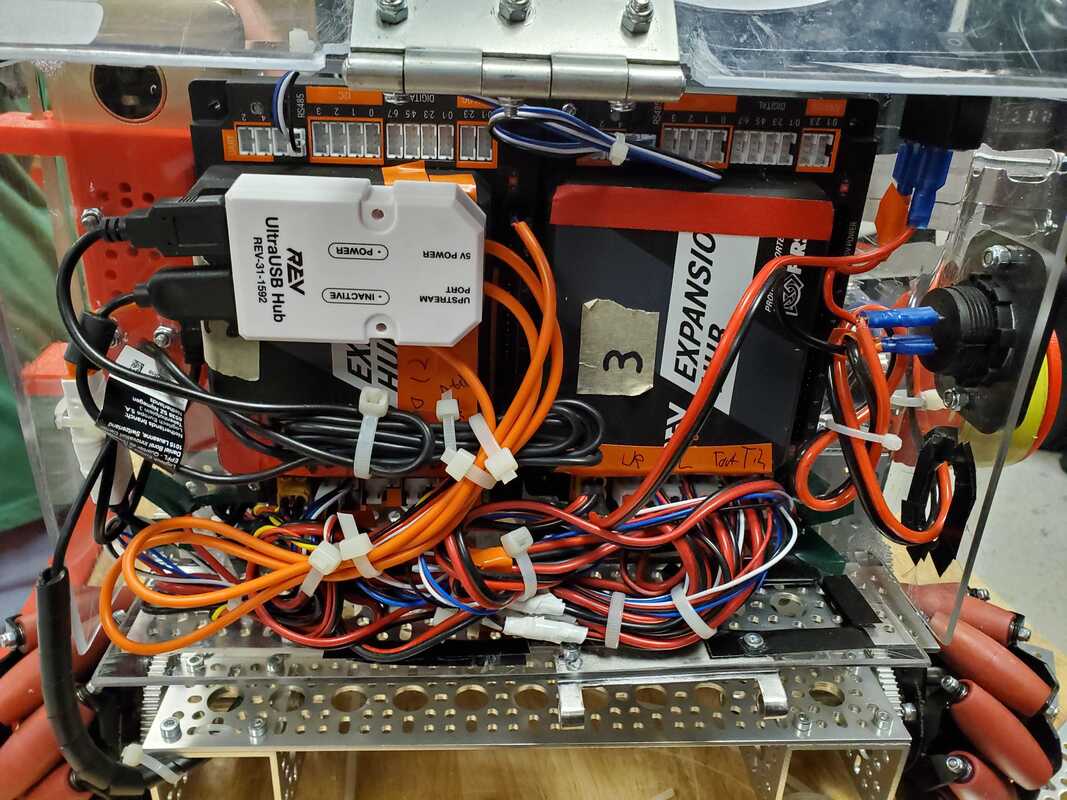
Every season, we work hard to maintain our electronics in a safe and organized manner. Shown above, we have constructed a simple box out of poly-carbonate with cutouts to accommodate for the wires running in and out, as well as the power system (power switch, voltmeter, etc.). The wiring may not look impressive but it is sorted and combined by purpose and destination and centralizes it all.
CAD
Computer Aided Design (CAD) is a crucial part of our design process. By building in a virtual environment first, we are able to bring our ideas to life and see how well they will perform, before we spend the time in making them in the real world. Below you can find a slideshow of renderings taken from the model that we put together while redesigning.
